I was treated with a Photography Class for my birthday this year from my wonderful husband. I asked for it last year, but it was worth the wait 🙂 Five weeks of Saturdays on my own was also a gift! Classes were near home at the San Jose Learning Center.
The first class was all about the technical aspects of photography. ISO, Aperture, Shutter Speed, and all that elusive stuff 🙂 I’ll not cover the details, since you can find all about that on Pinterest and the Interwebs. But I will share what I learned to be my process in taking pictures manually.
Equipment
Canon EOS Rebel T1i 15.1 MP CMOS Digital SLR Camera with 3-Inch LCD and EF-S 18-55mm f/3.5-5.6 IS Lens
This is probably a “beginner” camera, but that’s what we needed a year ago when we got it 🙂 It definitely suits our needs right now, and the investment is really in the lenses, right?
Canon EF 50mm f/1.8 II Camera Lens
We got this at the recommendation of some friends that also had young kids. They mentioned that you could pretty much foolproof take great pictures of your kids with this lens. Only challenge is that it’s a fixed lens, so you have to stand back a bit if you want a lot in your frame. It’s meant for close up portraits. Now I know the reason behind how it works – it has the capability to go extremely low in aperture – f/1.8 – which allows smaller depth of field, or more focused attention on your subject, while the background and/or foreground are blurred.
Books
The BetterPhoto Guide to Digital Photography (BetterPhoto Series)
This one has GREAT pictures that show the difference between shutter speeds and apertures. Also explains good composition. After my class I noticed that a lot of the images my instructor used to explain the concepts were actually from this book! Nice that I can look back on them whenever I want.
The Canon EOS Digital Rebel XSi/450D Companion
Specific to our camera, and has really helped me to learn the advanced features on our camera. Helpful for when I don’t want to shoot fully manual. I’m still learning a lot from this one!
Process
So after my first class we had an assignment to take pictures with different shutter speeds, apertures, ISOs, and white balance. This really helped me to figure out my process each time I’m using my camera. Here is what I’ve come up with:
- When you arrive at your location, check and set your ISO and White Balance. Take a few pictures, adjust, take again, until you’re comfortable with the settings.
My instructor advised leaving White Balance at Auto. I like this idea – but I would recommend consciously thinking about whether it is appropriate or not when looking at those test photos. It is adjustable post-edit, but its much more satisfying to have the picture turn out the right tone from the get go. If you might be changing locations, it would also be best to leave it Auto so that you won’t have to keep adjusting it. For ISO, try to leave it as low as possible for your setting. I am always tempted to turn it higher to make it brighter, but you want to avoid the graininess. I believe you can fix the brightness post-edit, but not the graininess.
- Once you’re ready to start taking pictures, decide what Aperture you want.
Remember, low aperture numbers mean small depth of field, while large aperture numbers mean large depth of field. Depth of field means the area that is in focus. So if you want to focus attention on the subject, select a low aperture number. If you want to show the full picture frame in focus (say, a landscape), select a high aperture number.
- Frame your picture and focus.
- Hold the shutter button down half way to see the exposure scale.
Correct the exposure by using the wheel to adjust the shutter speed. Sometimes you will have to adjust the aperture or ISO to allow for a more realistic shutter speed. I think over time I will learn what the reasonable apertures/ISOs are for certain settings and just start with that. Well, I hope so! This can be a lot of adjusting!
- Take your picture!
Now, of course, this has to all happen before you lose your shot! It’s pretty tough for an amateur like me. I’m still getting the hang of it, and honestly, will probably only use fully manual mode when I feel like practicing.
Alternatively to the above – you can decide to set the shutter speed first and then use your aperture to correct the exposure. I can see needing that in certain scenarios, but for now I will stick with the process above as I am only still learning.
So they say “a picture is worth a thousand words”… let’s get talking 🙂

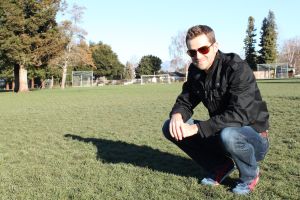
The left image above shows shallow depth of field (aka smaller aperture number, or larger aperture), while the right shows larger depth of field. You can see the trees in the background a little more blurry on the left picture. Isn’t this guy handsome?

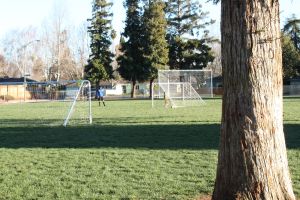
Again, the left is shallow depth of field, while the right is larger depth of field. The “subject” is the tree, while you can see the trees in the very back are more blurry on the left picture.


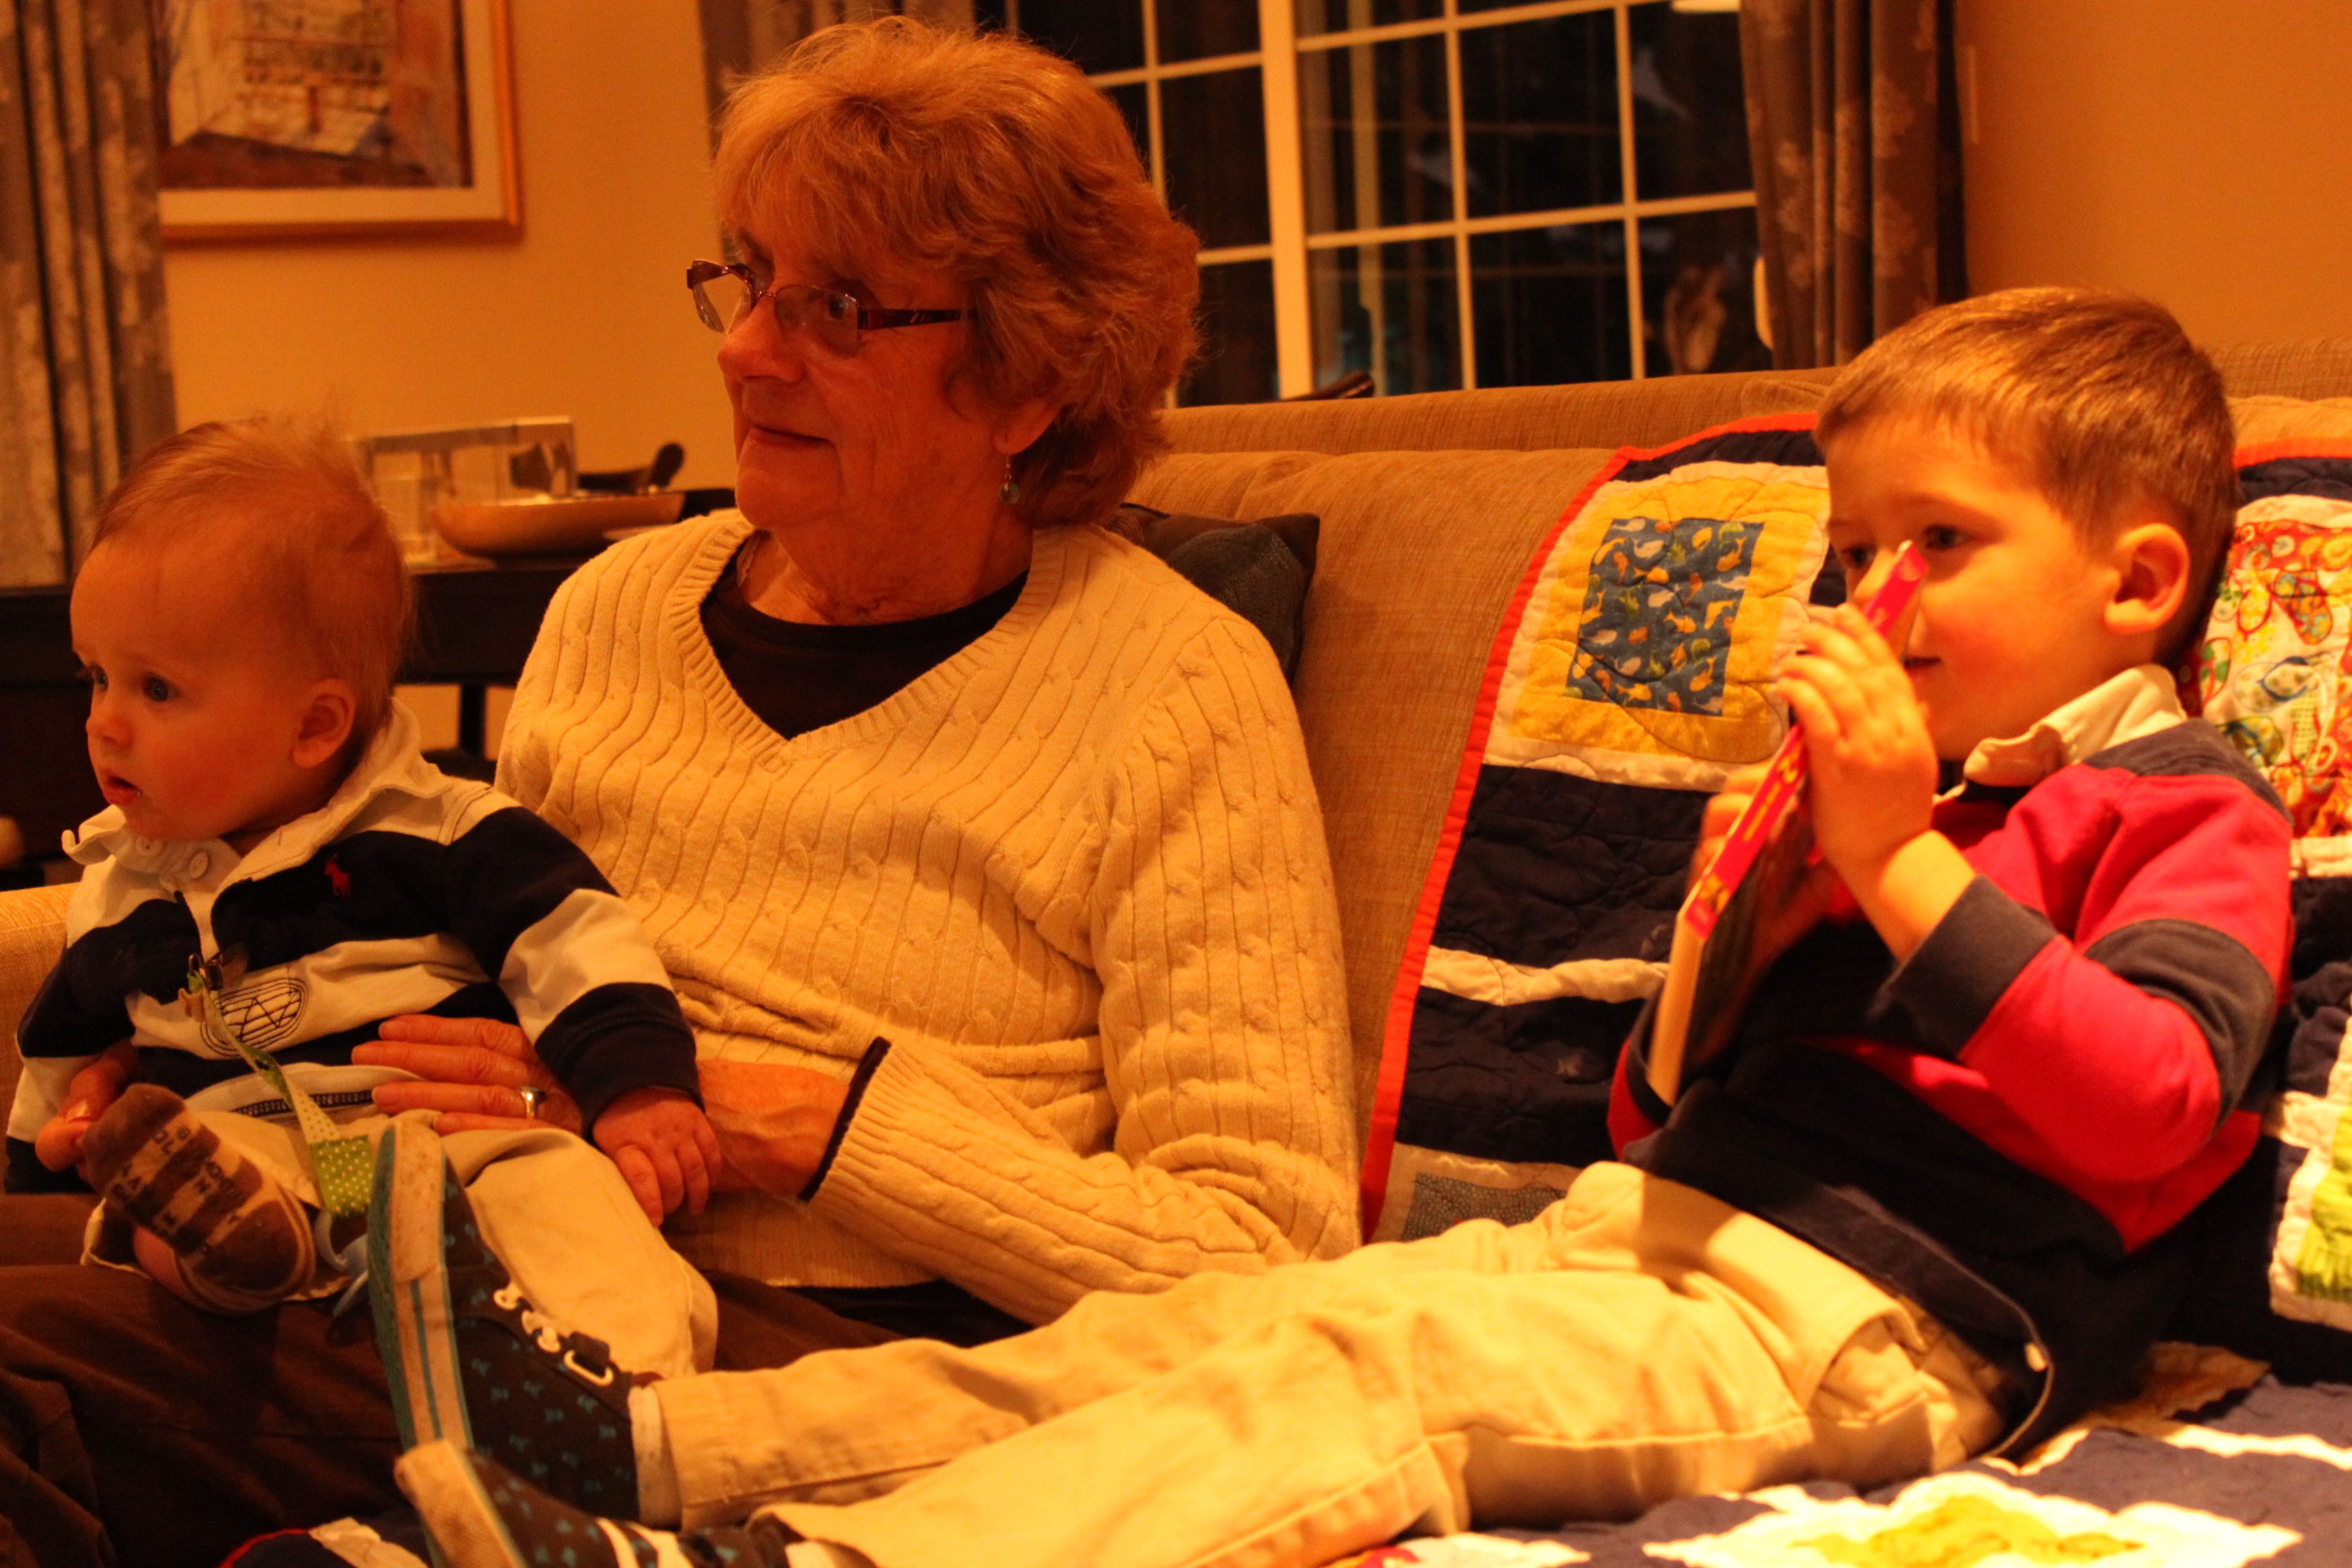
Now, shutter speed. You can use a fast shutter speed to “freeze time” as in the picture on the left. Or you can use a slow shutter speed to make something or someone look like they’re moving. Such a little acrobat 🙂


Shutter speed again. Same slide, same speed, but the image on the left makes PJ look frozen, while on the right he looks like he’s speeding down.
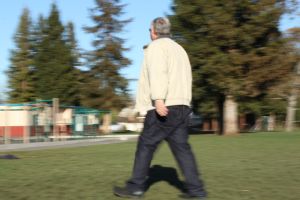

Camera panning – this will take some more practice, but it’s fun to do! You move the camera with the subject to get the subject in focus, while the background is blurry. It helps you to see that they are in motion. If you look closely you can see that PJ is crying. Luckily there were quite a few other people there to help him while Mommy kept snapping away!


The three images above show the difference in ISO. The first is ISO100, second ISO400, and third ISO1600. In this environment, either ISO100 or ISO400 would work, which means I should have had it on ISO100, since you want to use as low as possible to make the photo sharp.


Now fun with White Balance. Left = Daylight, Right = Shade


Left = Cloudy, Right = Tungsten


Left = Flourescent, Right = Flash


Left = Custom, Right = Auto
So, looking at all those White Balance options, you can see that Tungsten and Auto both look the best. The others are either too blue or too yellow in tone.
Wasn’t that fun? Obviously I have so much more to learn… More lessons to come!


 The bottom-left drawer contains craft paper and other paper supplies, like photo paper and envelopes. The bottom-right drawer contains Tax Histories and Home Sales records. Eventually those might go in a box in the attic if we need the space. Basically we know we need to keep these records, but not necessarily out in the open with easy access.
  My dream is to get a
  “What about all those beautiful drawings your little Picasso’s are creating each and every day?” you ask… Well, there will be some gems that we will keep (in the ONE box). There will be some that we will want to remember, but not necessarily keep – those will be scanned or photographed. Maybe one day those will go in a book! But I would say at least 50% go Bye-Bye, and that’s ok with me! I won’t even remember in 20 years 🙂 Check out this beauty little P brought home last week. He tells me it’s a soccer field full of soccer players (you know, World Cup fever), but for some reason it makes me thing of something else…
  And here is a baseball field:
  Some others saved so far…